
A residential garage door opener is only one part of the moving system. The motor, rail, trolley and door arm must be installed around a door that is balanced, aligned and able to travel without binding. This project photo provides a useful way to explain those relationships without treating the image as a diagnosis.
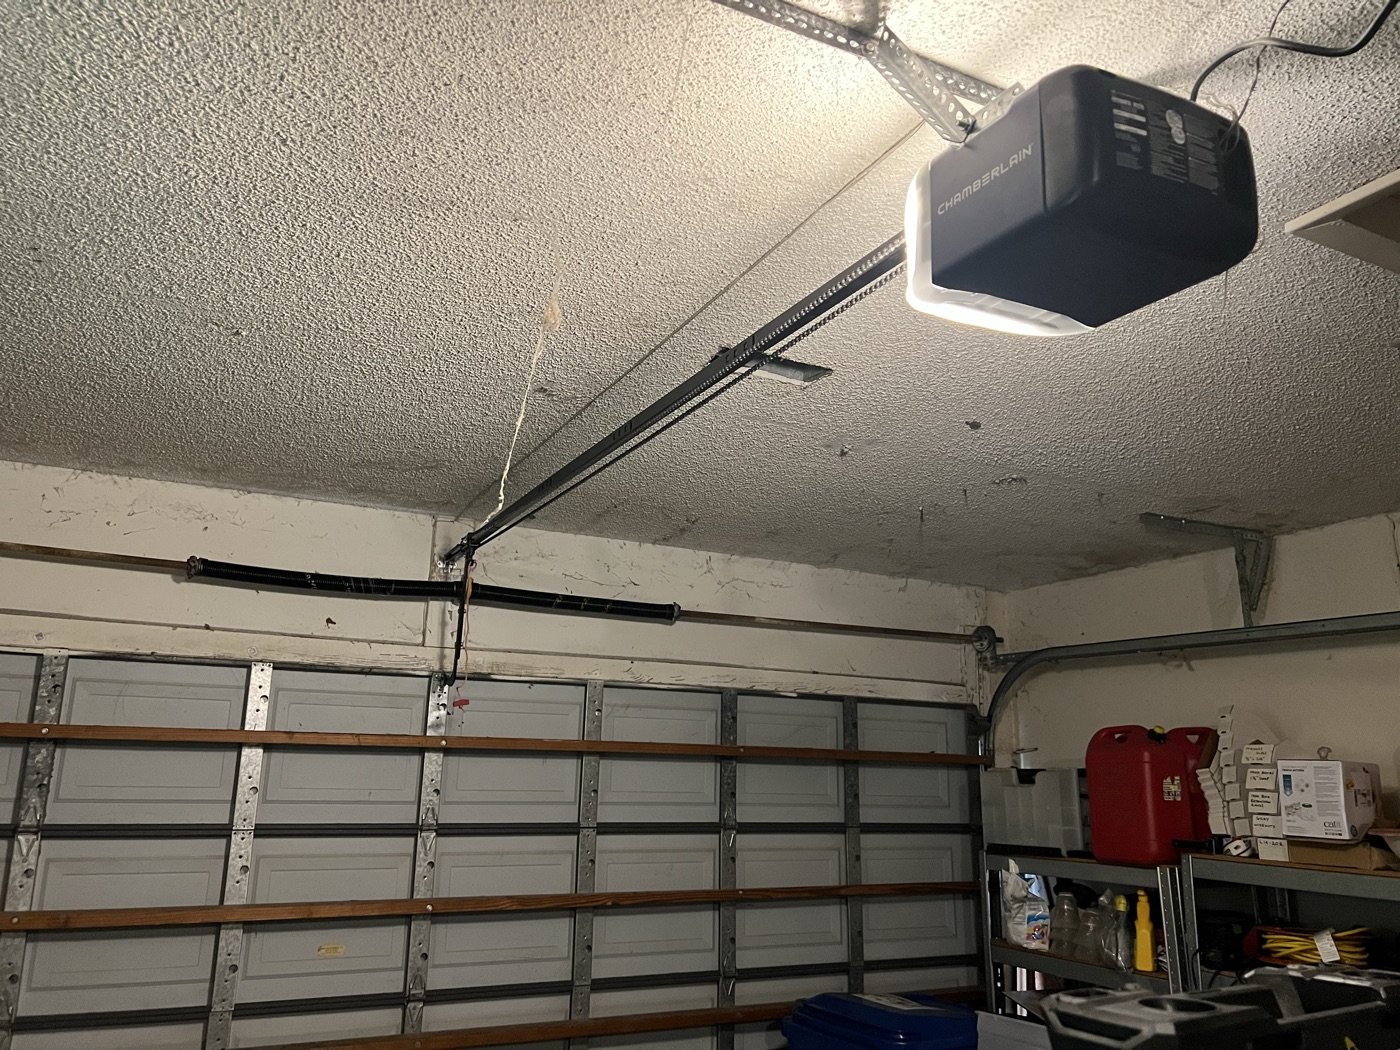
Additional opener and interior system photos
These project photos show the opener rail, top-section hardware and interior work area from different viewpoints. They do not establish a diagnosis or final test result.
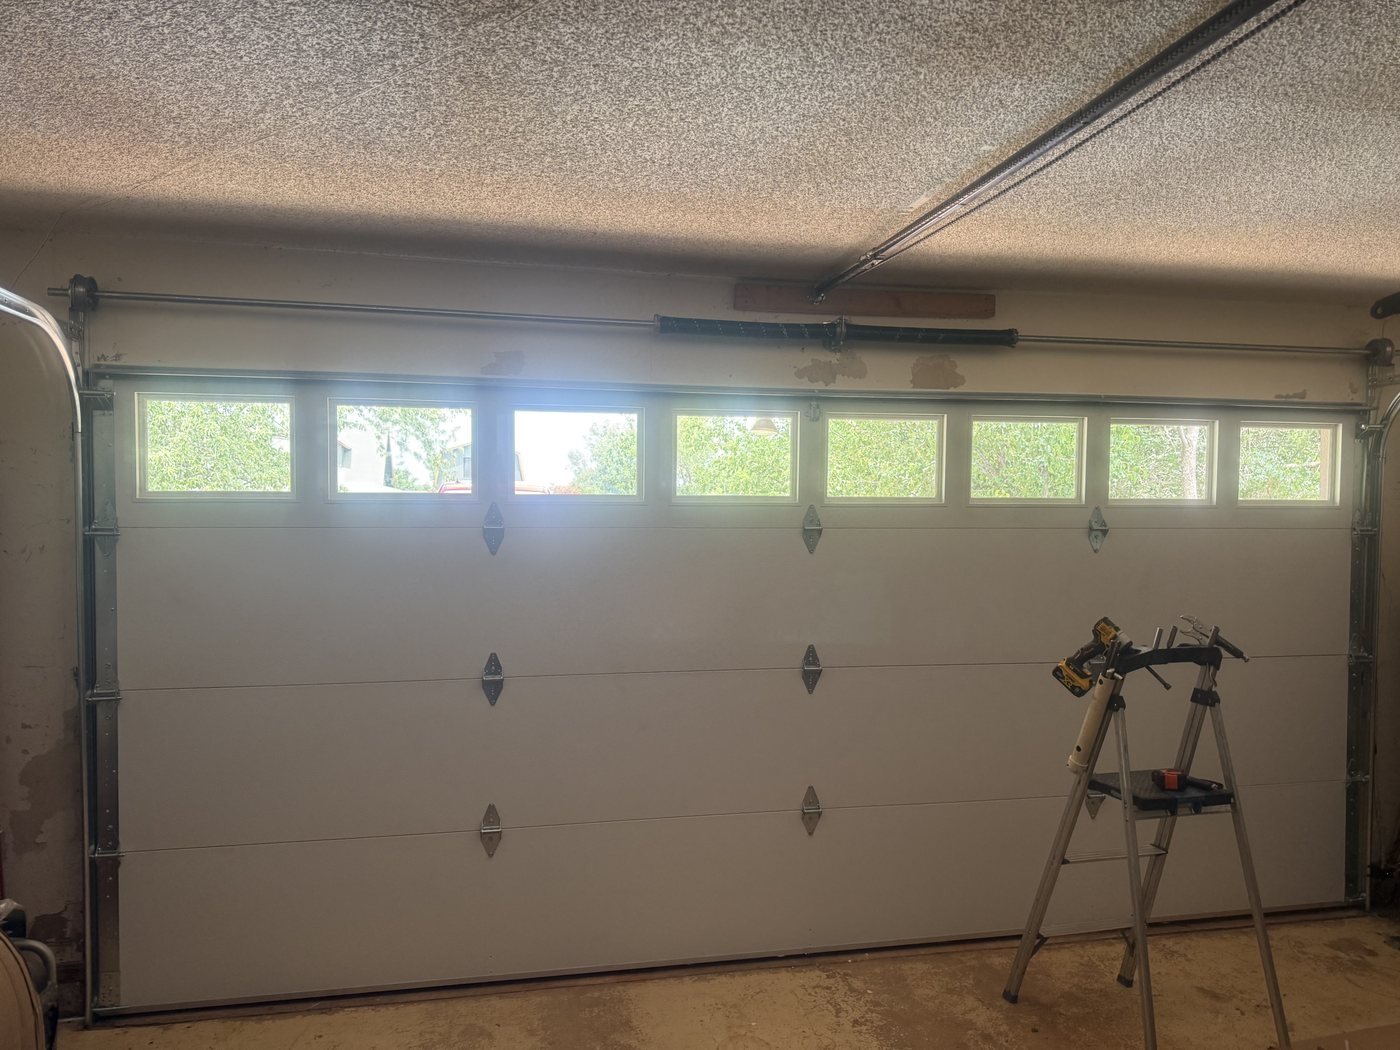
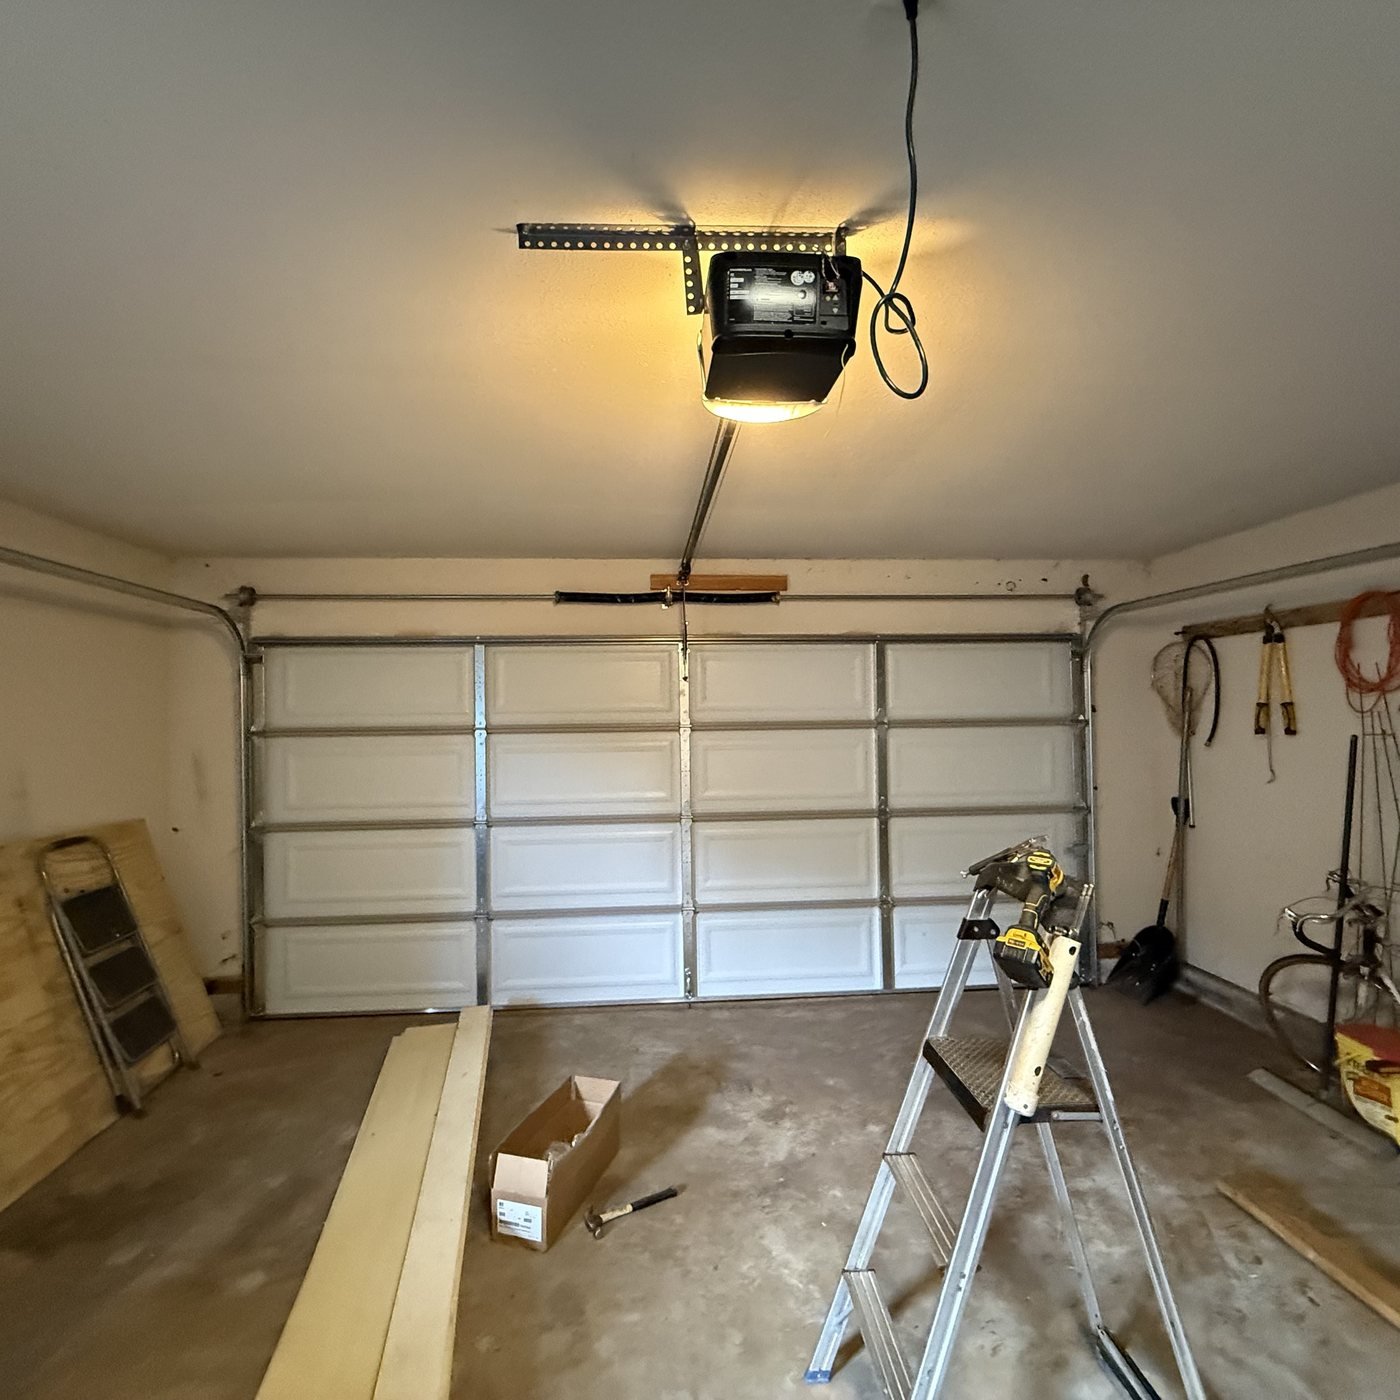
Start with the opener rail and door connection
The long rail carries the trolley between the motor unit and the closed-door position. The door arm transfers that trolley movement to the top section. Rail height, support and alignment affect how directly the opener can move the door. A rail that is poorly supported or significantly out of line with the door can create noise, flex or uneven loading.
The top section also needs a suitable attachment point. The bracket and reinforcement should match the door construction and opener instructions. The opener should guide a properly functioning door; it should not pull a heavy door into shape or overcome damaged tracks, rollers or hinges.
Door balance comes before motor force
Springs counterbalance the door weight so the opener can control movement rather than carry the entire load. A door that feels unexpectedly heavy, drops, rises on its own or will not remain controlled may have a balance or hardware problem. Increasing opener force is not a substitute for correcting the mechanical condition.
A service evaluation should separate the door from the opener when it is safe to do so. With the door closed and stable, the system can be checked for spring support, cable routing, roller movement and track resistance. Only after the door moves correctly should the motor, rail, trolley and settings be used to evaluate the remaining symptom. For a heavy door or visible spring gap, use the garage door spring replacement guide.
Controls and safety devices are part of the setup
An opener inspection includes more than the ceiling unit. Wall controls, remotes, keypads, photo eyes, low-voltage wiring and automatic reversal all contribute to normal operation. A door that starts down and reverses can be responding to a blocked sensor, an alignment or wiring condition, an obstruction, mechanical resistance or an incorrect travel setting.
- Confirm that the photo-eye area is clear and both brackets remain secure.
- Look for visible damage to low-voltage wiring without bypassing the safety circuit.
- Observe where travel stops and whether the opener displays a diagnostic signal.
- Check the rail, trolley and door arm for looseness or unusual movement.
- Verify that the door moves smoothly before changing force or travel settings.
The garage door reversal guide explains safe observation steps when closing behavior is the main concern.
How repair and replacement decisions differ
A remote, keypad, sensor, wire, trolley or setting problem may support a focused repair. Replacement deserves comparison when required safety functions cannot operate correctly, key internal components have multiple failures, or the existing opener is not compatible with the door and track arrangement it must control. Age by itself does not identify the failed part.
The decision should include the exact opener model, available parts, door weight and balance, rail condition, required controls and the owner’s access needs. A new motor will not correct a bent track or failed counterbalance system, while a mechanical door repair will not restore a failed control board. The Boulder garage door opener repair page outlines the complete diagnostic path.
Final checks for a connected residential system
- Confirm secure motor and rail supports using the requirements for the specific unit.
- Observe the trolley and door arm through full travel without rubbing or abrupt movement.
- Verify that the closed position seals the opening without driving the door excessively into the floor.
- Test photo-eye response and automatic reversal according to the manufacturer instructions.
- Confirm that controls operate consistently and that manual release instructions are understood.
- Listen for a change in noise that could indicate contact, looseness or door resistance.
Does a noisy opener mean the motor needs replacement?
Not necessarily. Noise can come from the rail, trolley, door arm, rollers, hinges, tracks or a door that is not balanced. The door and opener should be evaluated separately before replacement is chosen.
Can a stronger opener fix a heavy garage door?
No. The opener should not replace spring support. A heavy door needs its balance and counterbalance hardware evaluated before opener capacity is considered.
What information helps with opener diagnosis?
Provide the opener brand and model, what each control does, where movement stops, whether indicator lights flash and whether the door appears level and stable.